Build A Cozy Porch Swing With 2x4s: Simple DIY
Looking for an outdoor furniture project to take your porch from bland to beautiful? Adding some cozy seating arrangements is a great way to dress it up, and what’s nicer than a porch swing? You don’t need to spend all your savings on a fancy one, though. Just make one yourself out of 2x4s! No fancy tools needed either — just a drill, screws, and potentially a saw or other cutting utensil and sandpaper. You’ll also need something to hang your swing with, such as a chain or sturdy rope, and some paint, stain, and sealant. Safety gear to protect your eyes and hands are also important when using tools.
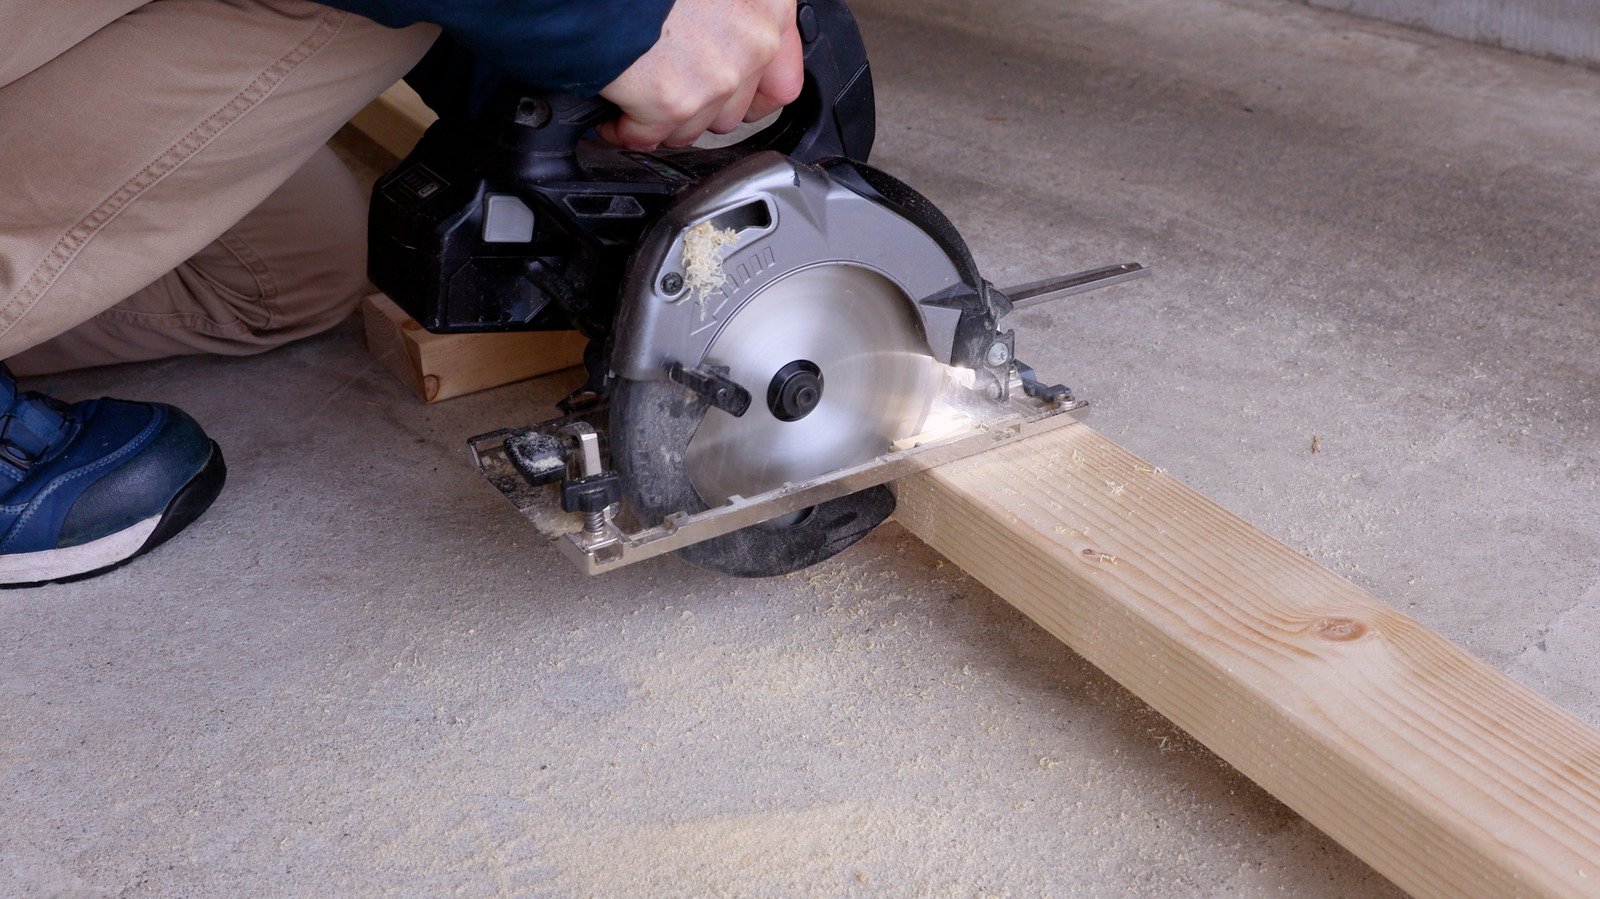
Building your own porch swing may sound complicated, but you don’t need to be a master woodworker to make it functional and pretty. The rectangular shape of the boards will give your porch swing some rustic charm, with no need for smooth curves or intricate designs. Of course, you can always add extra carvings, wood burnings, or painted details if you like the way they look! You can also experiment with different arrangements for the back, rounding off the ends of your boards, or adding cute cut-outs if you’re feeling adventurous. 2x4s are perfect as they’re easy to find at hardware stores and don’t need to be altered too much. Depending on the length of the 2x4s you get, you’ll likely need to cut them shorter. If you don’t have a saw, you can get your wood cut at Home Depot, as long as you buy it on location.
Assembling your 2×4 porch swing
Start by measuring the space you have available to determine the length your swing should be. You won’t want to put in the work to build it and then find out that it scrapes against the railing. If you’re cutting your own 2x4s, make sure to measure carefully to avoid awkward gaps. Wear protective gear to keep your eyes and fingers safe as well. For the seat you’ll need two long pieces and four short ones. Place the long pieces so that they are just far enough apart for the short pieces to fit perpendicularly between them. The short pieces should be evenly spaced, with one at either end to form a rectangle. Attach them with wood glue and screws.
Over top of your base, attach additional 2x4s so that you have a flat seat. For the back, attach four short or medium pieces vertically, then attach longer pieces horizontally over them like you did for the seat. Add armrests by attaching two more 2x4s to each end, one vertically from the seat and the other horizontally from the back so they form a right angle. You can also sand any rough spots or cover uneven ends with additional 2x4s before making any decorative additions like paint or stain. Finish it off with weather-resistant sealant and some cushions or pillows for comfort. To hang it, you can either get a porch swing hanging kit or some outdoor-rated eye bolts or hooks and thick rope or chains. This guide to installing a hanging chair can help.