How to Paint a Mailbox (and Dramatically Improve Your Home’s Curb Appeal)
Before You Begin
Choose a warm, dry day with little wind to complete this project. Most spray paints perform best when temperatures are between 65 and 85 degrees Fahrenheit and humidity is low.
If your mailbox has raised address numbers or decorative hardware that you want to keep paint-free, remove them before painting or mask them carefully with painter’s tape. Work outdoors or in a well-ventilated area, and always follow the spray paint manufacturer’s safety recommendations.
Step 1: Remove the mailbox.
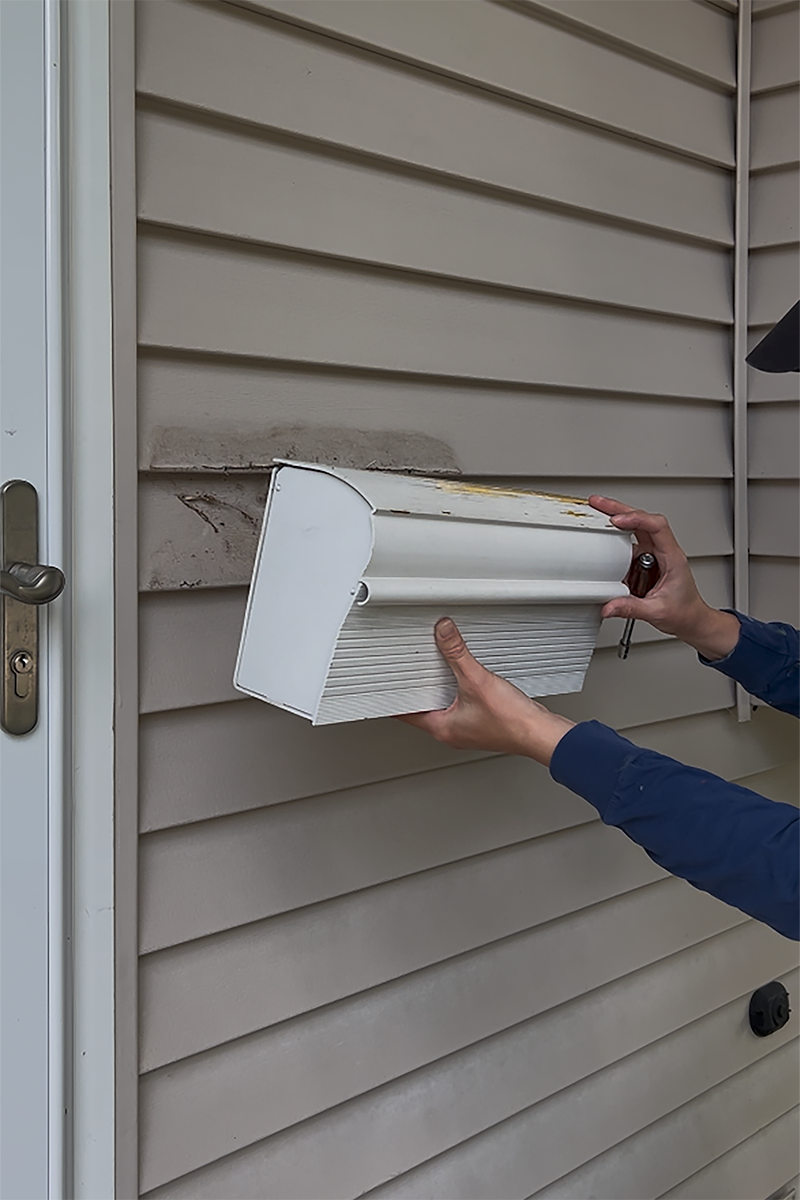
Moving the mailbox away from the house or off of its post makes it much easier to paint every surface evenly without worrying about overspray on your home’s siding, porch, or landscaping.
Use a screwdriver to loosen the mounting screws and carefully transfer the mailbox to a tarp or drop cloth.
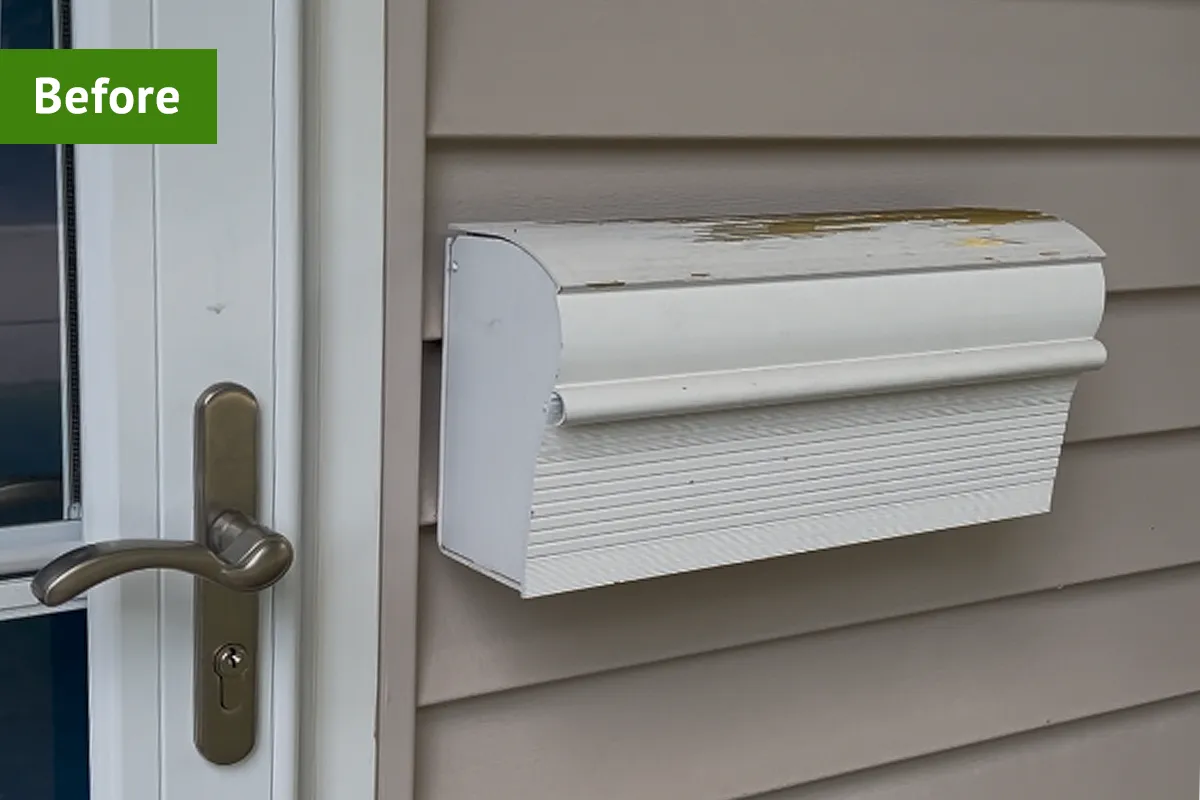
Step 2: Scrape off peeling paint and rust.
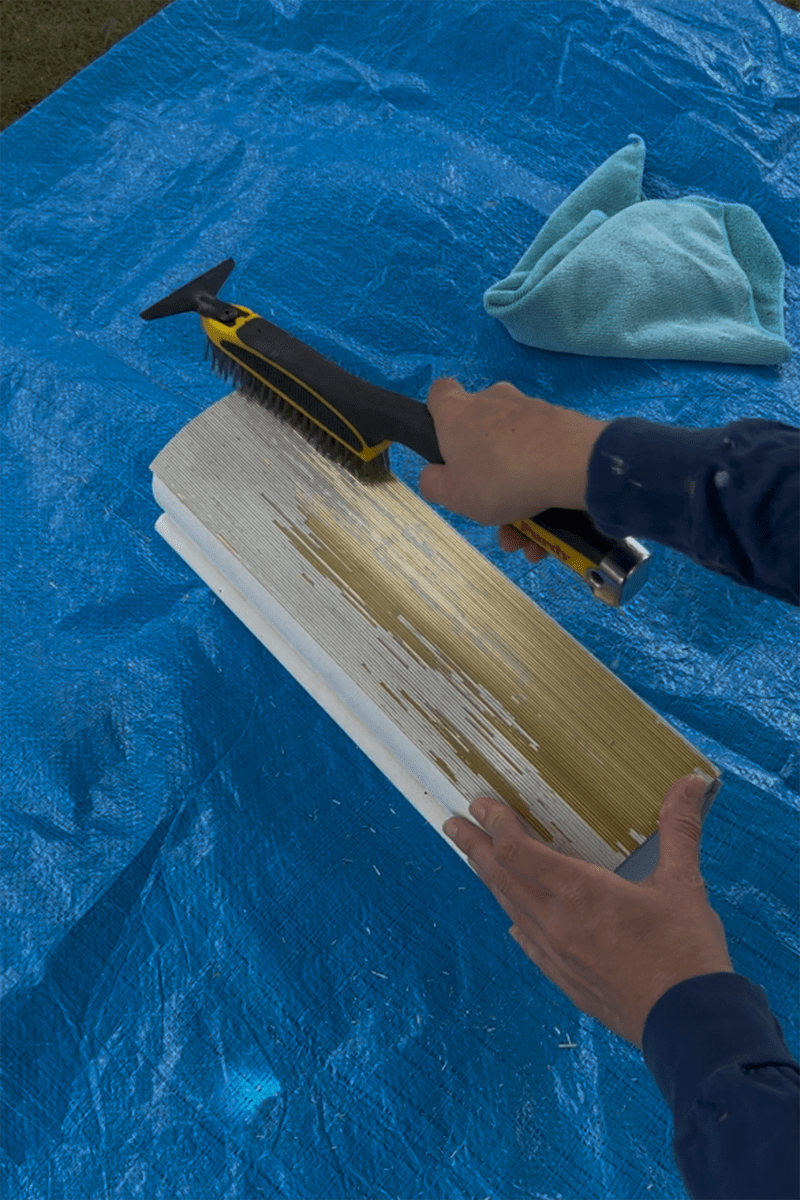
Use a wire brush to slough off any loose paint and surface rust. Continue scraping until the remaining old paint feels firmly attached and the surface is relatively smooth.
Don’t skip this step! New paint adheres much better to a properly prepared surface than one with flaking paint underneath.
Step 3: Clean the surface.
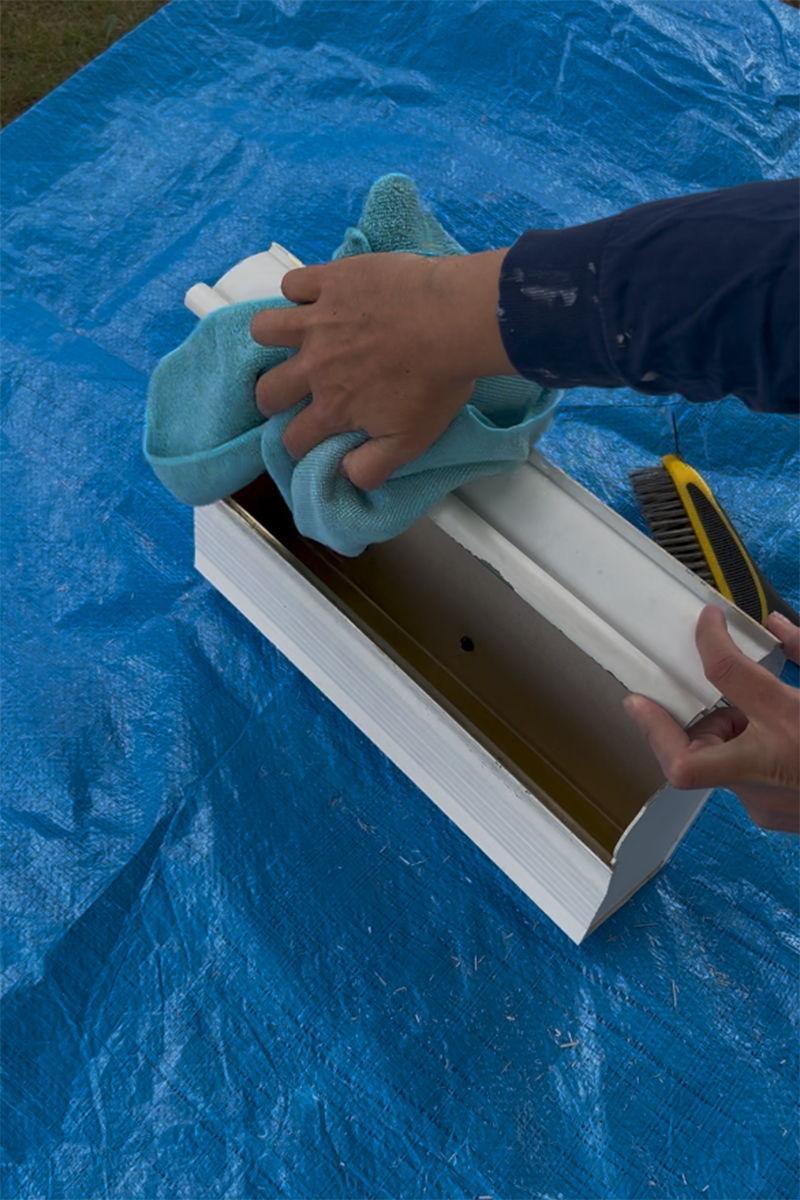
A clean surface helps the spray paint bond properly and creates a smoother, more professional-looking finish.
Wipe down the mailbox with a clean microfiber cloth to remove dust and debris. If the mailbox is especially dirty or greasy, wash it first with mild soap and water, allow it to dry completely, and then wipe away any remaining dust before painting.
Step 4: Apply the spray paint.
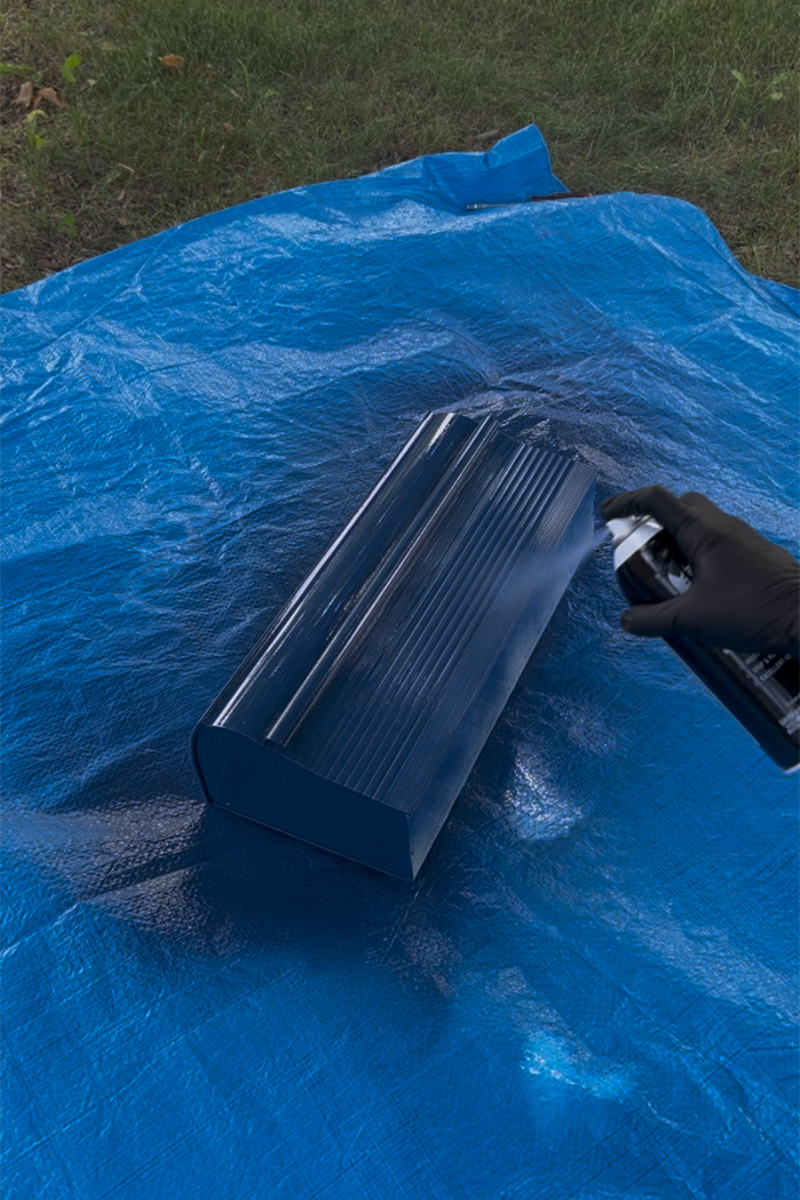
Shake the spray paint thoroughly according to the manufacturer’s instructions before you begin. Most paints require at least 1 minute of vigorous shaking after the mixing ball inside the container begins to rattle.
Holding the can about 10 to 12 inches from the mailbox, apply the paint using smooth, sweeping motions. Start spraying just before the mailbox and continue spraying past the edge to avoid paint drips.
Apply several thin coats instead of one thick coat, allowing the recommended drying time between each application. Thin coats dry more evenly and produce a longer-lasting finish.
Continue painting until the entire mailbox is evenly covered.
Step 5: Dry completely and reinstall the mailbox.
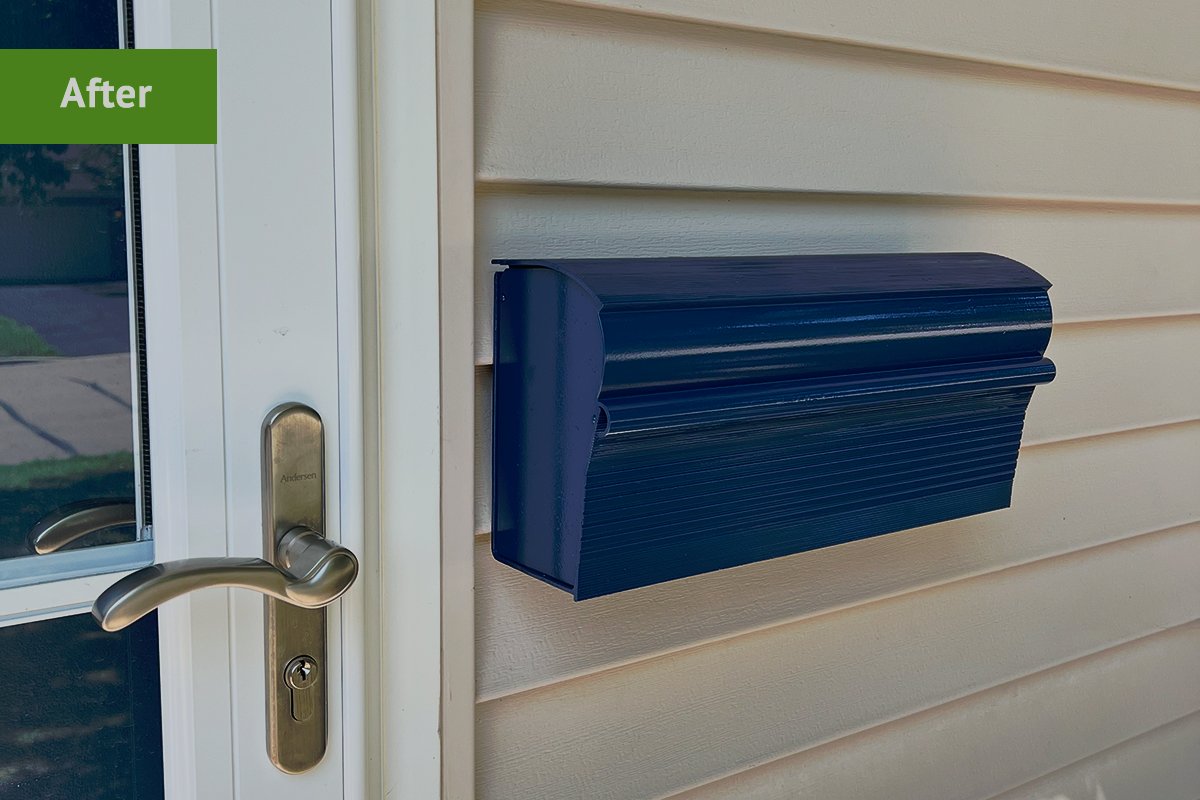
While it may feel dry to the touch within 30 minutes or so, many spray paints require 24 hours to fully cure. Waiting the recommended amount of time helps prevent fingerprints, scratches, and damage to the fresh finish. Check the back of your spray paint can for drying time guidance. Once the paint has fully cured, return the mailbox to its original location.
Painting a mailbox is one of the quickest ways to improve your home’s curb appeal without spending much money. By taking the time to remove loose paint, thoroughly clean the surface, and apply several light coats of spray paint, you can achieve a smooth, durable finish that lasts for years.
After completing this project, my home’s curb appeal ticked up several notches. I only wish I had done it sooner!
FAQs
Not necessarily. A wire brush is often enough to remove peeling paint and light surface rust. If the surface is rough or heavily weathered, lightly sanding it can help create an even smoother finish.
Yes, but removing it makes the job much easier and helps prevent overspray from reaching your home’s siding, post, or surrounding landscaping.
Follow the drying and curing times listed on the spray paint can. Although paint may feel dry within 30 minutes, waiting at least 24 hours before regular use helps ensure the finish has fully cured.

Curb Appeal Updates You’ll Appreciate Even If You Aren’t Selling Your Home