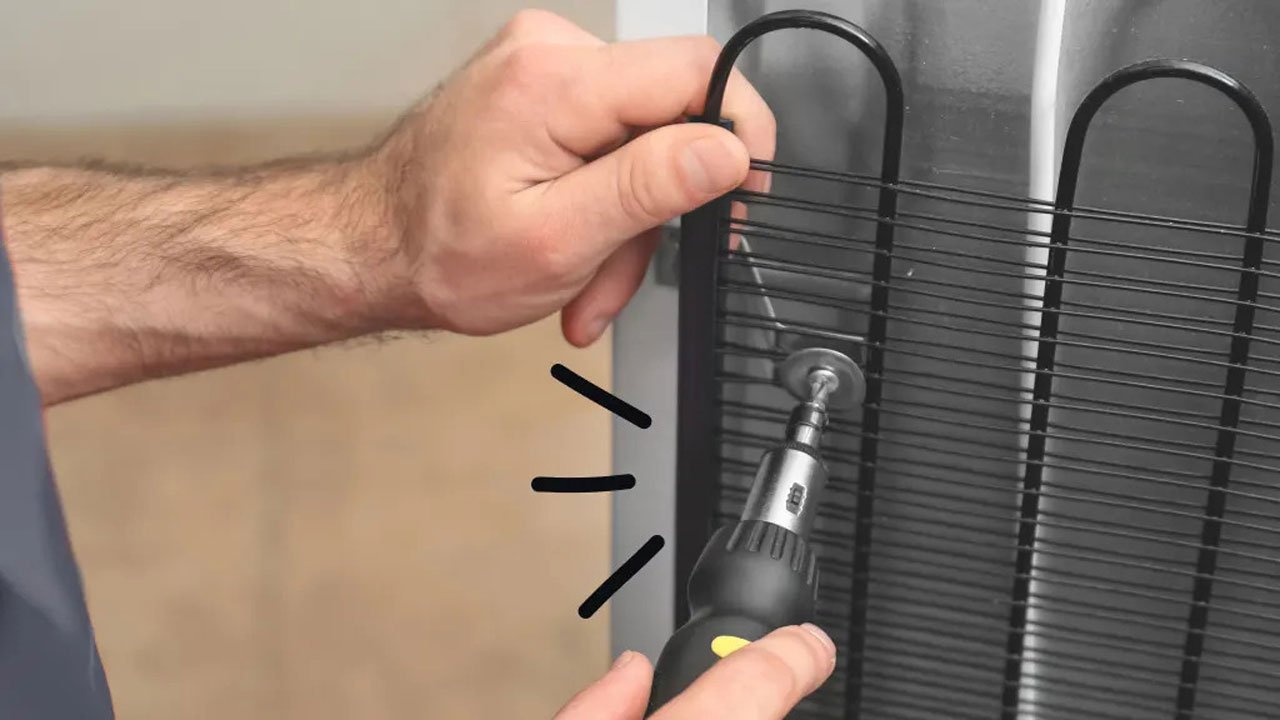
How to Clean Refrigerator Condenser Coils
Cleaning the refrigerator coils is a vital task that many of us do not want to undertake. But it is of utmost priority as it can help your refrigerator function smoothly and save on energy costs. The chore may seem daunting, but once you know what to do, it couldn’t be simpler.
If you have ever wondered how to clean your refrigerator condenser coils to ensure functional efficiency, this guide will help you out. It is a step-by-step instruction manual on how to properly clean condenser coils by yourself and prevent buildup that can affect performance.
What are Refrigerator Coils
Refrigerator coils are the behind-the-scenes elements of your refrigerator’s cooling system. The primary function is to remove refrigerator heat generated when it is cooling its contents. You will find them at the back of the refrigerator.
It is crucial to clean the condenser coils behind or below the fridge every six to 12 months to enhance the life of the refrigerator, ensure it is cooling the contents quickly, and save energy. Fridges use heat exchanges, known as condensers, to transfer the heat from the refrigerator to the surrounding air. Refrigerant fluid must be cooled as it absorbs heat from the fridge chamber, giving a cooling effect.
Refrigerators function by circulating refrigerant via tubes in the fridge’s walls, picking up heat, and carrying it outside. It then releases the heat to the air from the condenser coils on the back of the refrigerator. If the coils are covered by dust and debris, then the heat has to be released to the air. If you clean your coils regularly, it will increase the lifespan of the refrigerator.
What You Will Need:
- Vacuum, broom or dust brush
- Condenser coil brush, cleaning brush
- Rag, warm water, dish cleaning liquid
- Dust mask
Also Read: How to fix Garbage Disposal: Simple Solutions You can try Yourself
How to Clean Refrigerator Condenser Coils
Finding Refrigerator Coils
Newer models have the coils located at the bottom front, below the door, and behind a toe grille. The grille snaps off, but some models need screws to remove it. Older models feature the coils on the appliance’s back. You must pull the fridge away from the wall for better access. Consult the instruction manual or search the model number to find the exact maintenance steps.
Vacuum and Wipe Them
Clear all debris from the heat exchanger surface. Brush the coils to loosen dirt and then vacuum any residue. After vacuuming, wipe the coils to clean any stubborn grime. Mix warm water with a few drops of dishwashing liquid and use a damp cloth to remove the residue. Allow the coils to dry completely before replacing panels; reconnect the refrigerator power cord to the electrical outlet.
Clean the Grille
Wash the front grille while it is removed. Submerge the piece in a bathtub filled with warm, soapy water. Use a soft-bristle brush and sponge to remove grime. The grille now has to be rinsed and completely air dried before being snapped back on.
When to Clean Refrigerator Condenser Coils
- If you want to keep your refrigerator running smoothly, you need to keep the coils clean. Dust and grime can develop on them, and instead of releasing heat, the accumulated dirt acts like a blanket, trapping it. This makes your refrigerator work overtime to stay cool; bad news for your energy bill and food
- If there is a problem with your fridge not being at the right temperature, your food spoils faster. If the coils are clogged, your refrigerator can eventually overheat and break down. So it is vital to keep those coils clean for a healthy fridge
- Cleaning the coils of the fridge can improve its airflow and keep the dryer vent clear, thus increasing dryer efficiency and reducing the risk of appliance failure
Final Thoughts
Cleaning your fridge’s condenser coil is a fast, economical task that produces massive household benefits. You need to improve your appliance’s efficiency by keeping this component free of dust and debris.
If you spend less than two hours on this routine, it will lower monthly utility bills without electrical strain, reduce emergency repair costs by preventing compressor burnout, optimize food preservation with stable internal temperatures, and prolong the appliance’s life.