He Dug Into a Backyard Slope and Ended Up With a Retaining Wall That Looks Professionally Built

Most backyard retaining walls begin with excavation. This one started with a steep slope running almost the full length of the fence. In a project shared by Reddit user u/SHOUT-WoT, an uneven section of yard was cut back and rebuilt as a 35-foot retaining wall that created a level planting bed above and more usable lawn below.

Engineered retaining wall blocks, compacted gravel, drainage stone, a French drain, integrated lighting, and capstones gradually replaced the hillside as the project took shape over three to four weekends. The homeowner completed almost all of the work after renting a skid steer for excavation.
The footprint remained almost the same, but the retaining wall, built-in steps, lighting, and planting bed created a completely different backyard.
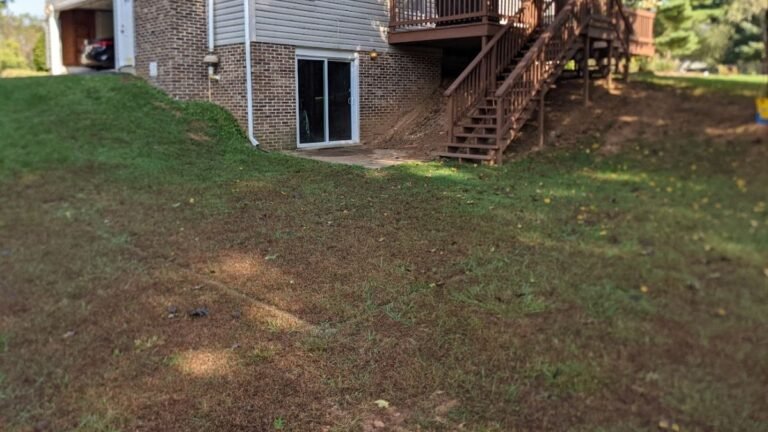
Steep Backyard Hill Left Almost No Flat Space

The project began with a backyard where the slope stretched from the fence almost to the lawn. The steep bank limited planting options and reduced the amount of usable space beside the house.
At this stage, the future retaining wall existed only as an idea carved into the hillside.
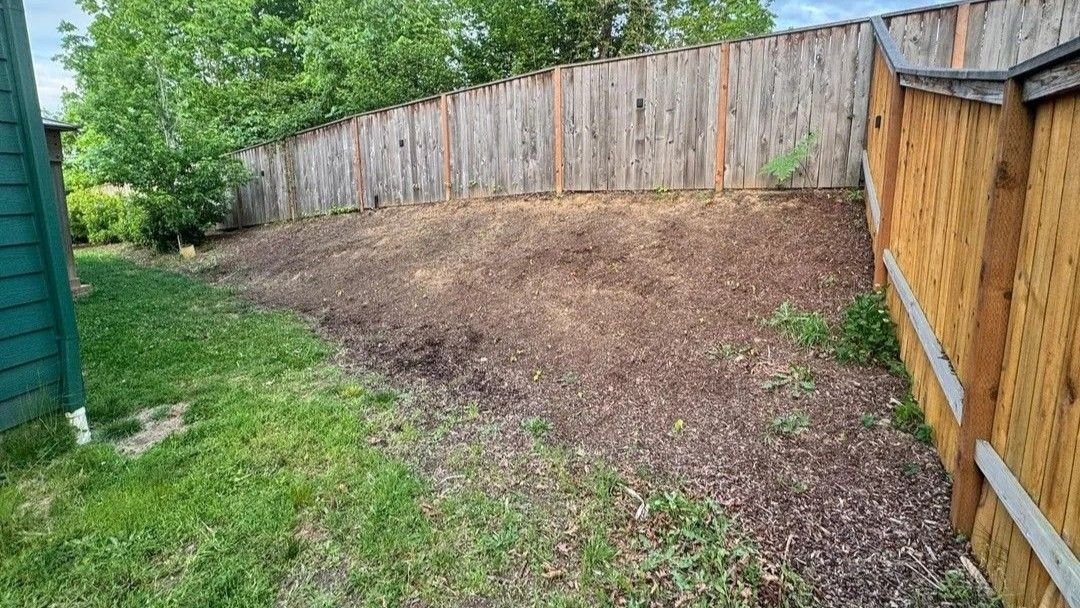
Full Length of the Slope Showed the Scale of the Project

A wider view revealed how far the hill extended along the fence line. Nearly the entire backyard followed the same grade from one end to the other.
Creating a level section meant rebuilding almost the full length of the yard.
Excavation Cut the Hill Back

The first major step involved removing part of the slope to create room for the retaining wall. A rented skid steer handled the larger excavation while the foundation trench was dug with a shovel and pickaxe.
Before any blocks could be installed, the wall location had to be cut into the hillside.
Pallets of Blocks Filled the Driveway

Engineered concrete retaining wall blocks arrived before construction began. Several pallets filled the driveway, ready to become the new backyard wall.
The homeowner chose interlocking concrete blocks because of their weight and stability.
Gravel Base Prepared the Foundation

Compacted gravel filled the trench before the first row of retaining wall blocks went into place. A perforated drain pipe was installed behind the wall to move water away from the structure.
The homeowner later said getting the first course perfectly level took more time than any other part of the build.
Wall Grew One Course at a Time

Each additional course raised the wall while gravel and backfill were added behind it. The structure gradually followed the changing elevation across the backyard.
Everything above the first row depended on the accuracy of the foundation below.
Drainage Rock Filled the Space Behind the Wall

Clean drainage stone replaced part of the excavated soil behind the retaining wall before fresh soil completed the planting bed.
The homeowner later admitted skipping drain fabric was the biggest mistake he would change on a future project.
Finished Wall Changed the Entire Backyard

Once construction finished, the steep hill became two separate levels connected by the retaining wall. The upper section formed a dedicated planting bed while the lower area gained more open space.
The backyard immediately looked larger without changing its overall footprint.
Built-In Steps Connected Both Levels

Concrete block steps built into one end of the wall provide access between the lawn and the planting bed above.
Stepping stones continue the path along the fence line.
Lighting Went In Before the Capstones

Low-voltage lighting was installed before the capstones completed the wall. The wiring remained hidden beneath the top course while the fixtures illuminated the face of the retaining wall.
Fence lights continued the same lighting pattern across the backyard.
Creeping Blue Star Thyme Filled the New Planting Bed

The upper bed received creeping blue star thyme as its first planting. The ground cover will gradually spread across the new soil while additional plants are added over time.
The planting softened the transition between the retaining wall and the fence.
Wall Lighting Changed the Backyard After Sunset

Once darkness fell, the integrated lights highlighted the texture of the retaining blocks and turned the wall into the backyard’s focal point.
The lighting also made the stairs easier to use after sunset.
Before and After Shows the Full Transformation

The finished backyard bears little resemblance to the original slope. Excavation, drainage, engineered retaining wall blocks, integrated stairs, lighting, and new planting transformed an underused hillside into a backyard with two functional levels and a retaining wall that looks professionally built.
All image credits go to Reddit user u/SHOUT-WoT.